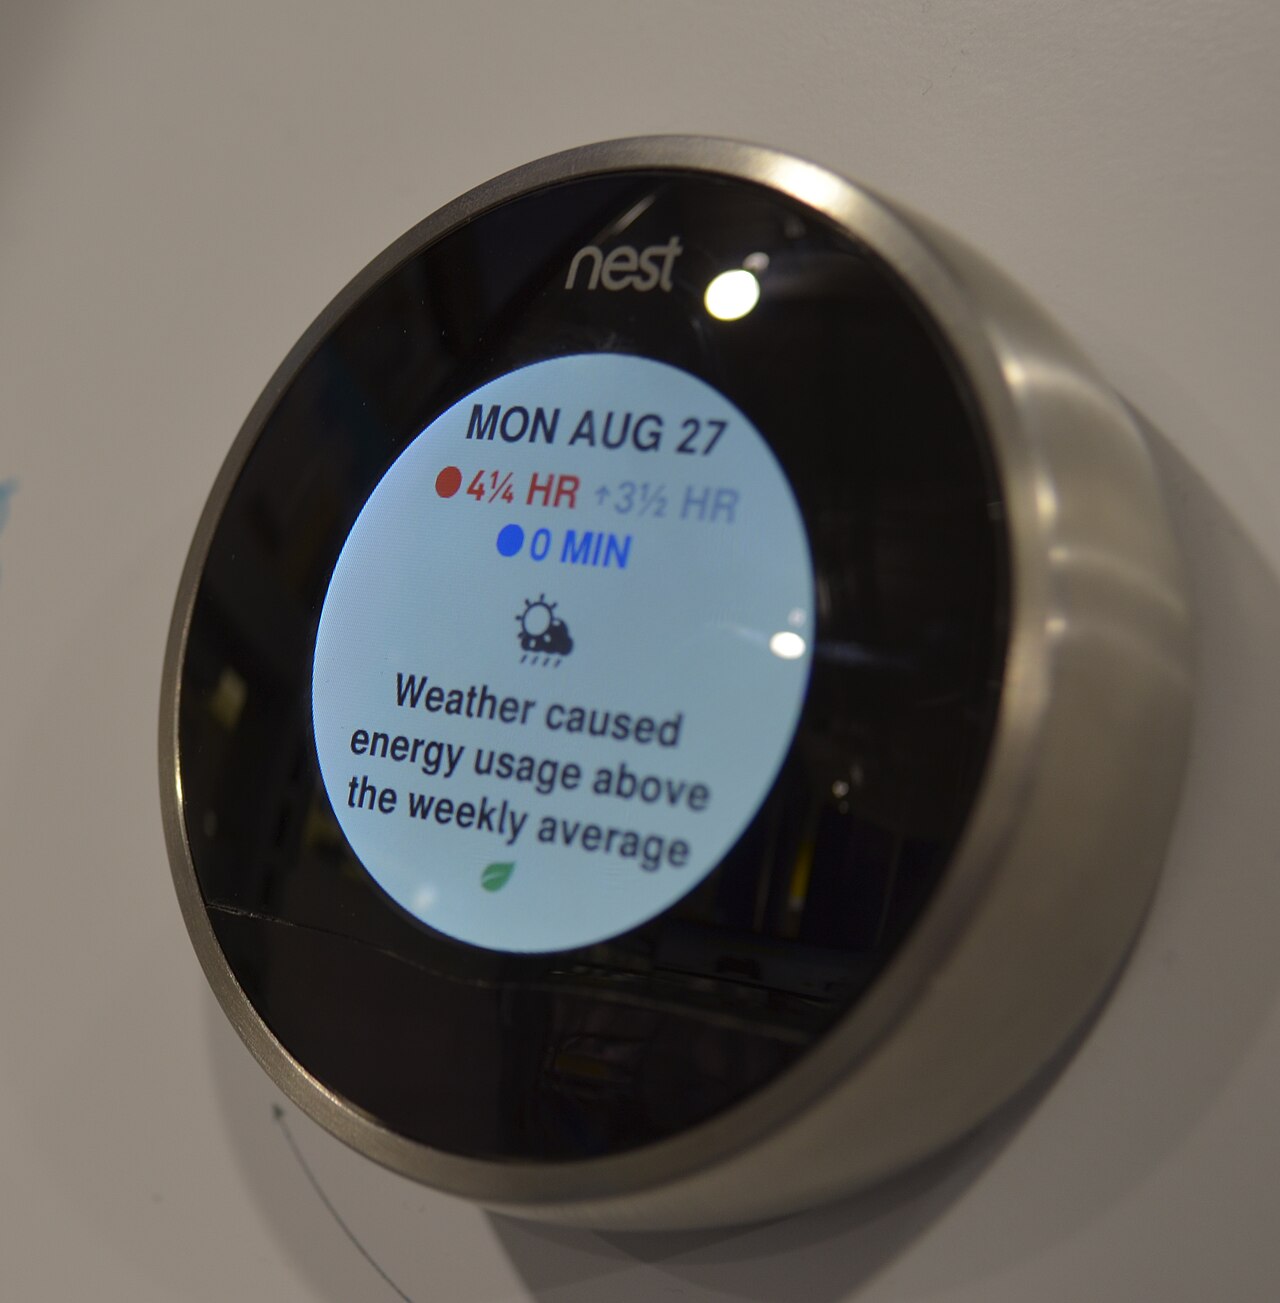
Welcome to the community! If you are thinking about upgrading your home climate control, the Nest Learning Thermostat (4th Gen) is a popular choice for good reason. It combines learning-based schedules, room temperature sensors, and Google Home integration to simplify your life. However, jumping into smart home tech can feel overwhelming, especially when dealing with wiring. Let's break down exactly what this device does and how to get it running smoothly.
Key Features You Should Know
The core strength of the Nest 4th Gen is its ability to learn from your behavior. It uses your temperature adjustments to build a Smart Schedule that matches your routine, rather than forcing you to program rigid times. For remote control, you will rely on the Google Home app, which allows you to adjust settings from anywhere, provided your network connection is stable. The device also supports Matter, a universal smart-home connectivity standard, ensuring it can talk to other compatible devices and platforms in your ecosystem. Temperature sensors are another major selling point. The 4th-gen bundle includes a second-generation Nest Temperature Sensor, allowing you to designate specific rooms for temperature control at different times of the day. This is incredibly useful if your living room is always too hot or your bedroom is too cold. However, it is crucial to understand that these sensors do not create independent heating and cooling zones on their own. That functionality requires a compatible zoned HVAC system or additional professional equipment.
Step-by-Step Setup Process
Before you even buy the device, you must check your HVAC compatibility. The Nest 4th Gen supports most 24-volt systems, including gas, electric, forced-air, heat-pump, and radiant setups. Use Google's official compatibility checker to be sure. When you are ready to install, safety is paramount. Always switch off HVAC power at the breaker before handling any wiring. Take photos of your existing wires and label them carefully before disconnecting them. Do not assume wire colors have the same function in every installation; if you are unsure, call a qualified HVAC professional. Once physically installed, open the Google Home app to connect the thermostat to your Wi-Fi network and account. You will then configure your temperature preferences and allow the learning features to begin. Monitor the system closely in the first few weeks. If the system runs longer than expected or certain rooms remain uncomfortable, review your settings and thermostat placement. If issues persist, it is likely an HVAC system problem rather than a thermostat fault.
Common Mistakes to Avoid
Many beginners make the mistake of ignoring compatibility checks or assuming energy savings are instant. Energy efficiency depends on your entire heating and cooling system, insulation, and local utility rates, not just the thermostat. Another common error is poor placement. Avoid installing the thermostat in direct sunlight, near drafts, or close to heat sources, as these will skew temperature readings. Remember that while room sensors improve comfort, they are not a substitute for a properly designed zoning system.
Key Takeaways
- The Nest 4th Gen supports Matter and most 24-volt systems, but you must verify compatibility before purchase.
- Included temperature sensors improve room-specific comfort but do not create independent HVAC zones without a zoned system.
- Always cut power at the breaker and label wires during installation to ensure safety and correct wiring.
- Energy savings vary significantly based on your home's insulation, climate, and existing HVAC efficiency.
The Bottom Line
The Nest 4th Gen is a powerful tool for smart home integration, but it is not a magic fix for inefficient HVAC systems. Success depends entirely on proper compatibility checks and realistic expectations regarding energy savings.